
Measure and mark your desired angle using a protractor or marker. Cut a durable material to fit your knife’s bevel. Assemble the guide, ensuring it aligns precisely for consistent sharpening results every time.
A knife sharpening angle guide is a tool designed to help maintain consistent sharpening angles, ensuring your blade achieves optimal sharpness and durability. Whether you’re sharpening straight razors, chef knives, or outdoor knives, precise angles are critical. This guide helps eliminate guesswork, especially for those still learning proper sharpening techniques. By keeping the blade at the correct angle, it prevents uneven edges and extends the knife’s lifespan. Many sharpening systems include angle guides, but you can also create a custom one tailored to your specific needs. This article will walk you through the process of designing and building your own angle guide, offering tips for materials, measurements, and assembly. With a homemade guide, you’ll achieve professional-level results while saving money. It’s a simple yet effective solution for anyone looking to master knife sharpening.
Materials and Tools Needed for the Project
To create a custom knife sharpening angle guide, you’ll need a few essential materials and tools. Start with a durable material like aluminum, steel, or high-quality plastic for the guide’s base. A protractor will help measure and mark the desired angle accurately. A ruler or caliper ensures precise measurements, while a marker or pencil is used for clear markings. For cutting and shaping, a hacksaw or CNC machine is ideal, though a utility knife can work for simpler designs. Sandpaper or a file will smooth rough edges, ensuring the guide fits comfortably against the knife. Additionally, a drill press or hand drill may be needed if you plan to add adjustable features or mounting holes. Lastly, a flat surface like a workbench is necessary for assembly and testing. These tools and materials will help you craft a functional and long-lasting angle guide tailored to your sharpening needs.

Understanding the Importance of Sharpening Angles
Sharpening angles are crucial for precision and consistency. They determine how the blade interacts with the sharpening surface, ensuring optimal sharpness and edge retention. Proper angles vary by blade type and intended use, requiring careful maintenance for durability and performance.
Why Consistent Angles Are Critical for Sharpness
Consistent sharpening angles are vital for achieving and maintaining a sharp knife edge. They ensure uniform metal removal, preventing an uneven edge that can weaken the blade. Different knives require specific angles: chef’s knives at 20 degrees, hunting knives at 25 degrees, and straight razors at a finer 15 degrees. Inconsistent angles lead to over-sharpening or under-sharpening, affecting the knife’s cutting efficiency and durability. Using an angle guide enhances precision, making it easier to maintain the correct angle, especially for newcomers. This consistency preserves the blade’s integrity, prolongs its lifespan, and ensures optimal sharpness. Over time, it prevents the edge from becoming brittle or prone to chipping, maintaining the knife’s effectiveness. Thus, consistent angles are essential for both sharpness and longevity, making them a cornerstone of effective knife sharpening.
Common Knife Sharpening Angles for Different Blades
Knife sharpening angles vary depending on the blade’s intended use. Chef’s knives and general-purpose knives typically use a 20-degree angle per side for a balance of sharpness and durability. Hunting knives and outdoor knives often employ a slightly steeper angle, around 25 degrees, to withstand tougher tasks. Straight razors and precision cutting tools may use a finer angle, such as 15 degrees, for a razor-sharp edge. Cleavers and heavy-duty knives, however, require a more robust angle, often between 30 to 40 degrees, to maintain their strength. Japanese knives, like gyutos, often sharpen at 15 degrees per side for exceptional sharpness. The angle choice directly impacts the knife’s performance and longevity, ensuring it meets its specific functional needs.

Designing Your Custom Angle Guide
Begin by determining the specific sharpening angles needed for your knife type. Sketch the design, ensuring it fits comfortably and allows precise angle control. Choose materials that offer durability and ease of adjustment for various blade styles.

Measuring and Marking the Desired Angle
To accurately measure the desired angle for your knife sharpening guide, start by identifying the blade’s bevel angle using a protractor or angle gauge. Common angles range from 15° to 30°, depending on the knife’s intended use. Once the angle is determined, mark it clearly on the material you’ve chosen for the guide. Use a ruler or straightedge to ensure precision, and double-check the measurement with a secondary tool if necessary. For consistency, consider marking angles for both sides of the blade. This step is crucial as it sets the foundation for the guide’s functionality. By carefully measuring and marking the angle, you ensure your homemade guide will help maintain consistent sharpening results. Proper alignment is key to achieving a sharp, durable edge, making this step indispensable in the process.
Choosing the Right Materials for Durability
Selecting the right materials is essential for creating a durable and effective knife sharpening angle guide. Stainless steel or aluminum are excellent choices due to their strength and resistance to wear. Wood, particularly hardwoods like maple or walnut, can also be used for a more rustic design. Ensure the material is thick enough to maintain stability during sharpening. For added durability, consider using a combination of materials, such as a metal angle attached to a wooden base. The surface should be smooth to prevent friction and evenly distribute pressure. Avoid flimsy or brittle materials, as they may bend or break under regular use. Additionally, the guide should be easy to clean and resistant to corrosion. By choosing high-quality, long-lasting materials, your homemade angle guide will withstand repeated use and remain a reliable tool for maintaining sharp blades.

Step-by-Step Guide to Building the Angle Guide
Measure the desired angle using a protractor. Cut the material to size with precision tools. Assemble the components, ensuring proper alignment and stability. Test the guide to confirm accuracy before use.

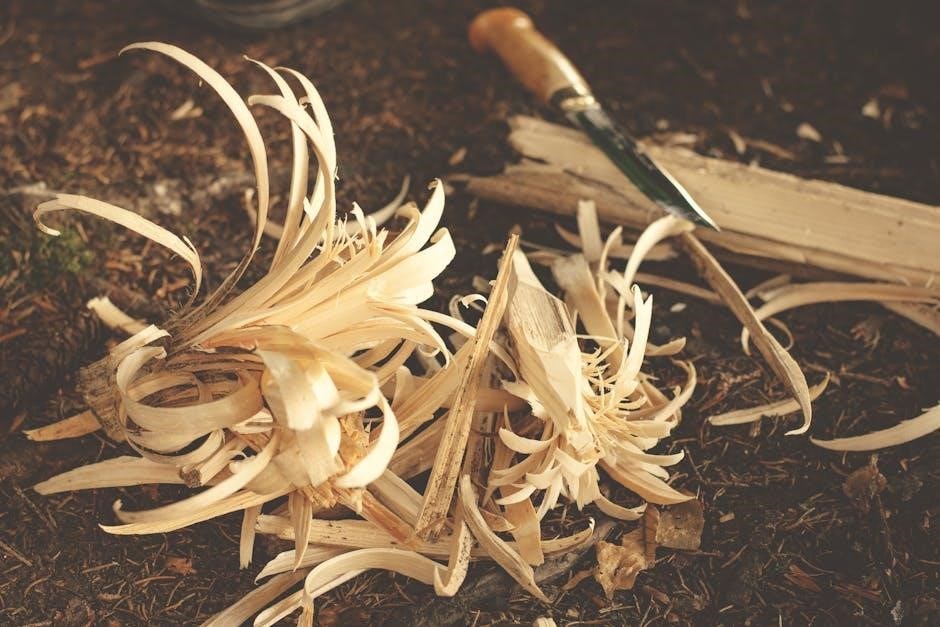
Cutting and Shaping the Guide to Fit Your Knife
Cutting and shaping the angle guide requires precision to ensure it fits your knife perfectly. Start by measuring the blade’s bevel angle using a protractor or marker. Transfer this measurement to your chosen material, such as metal, plastic, or wood, marking the desired angle clearly. Use a saw, grinder, or cutting tool to carefully cut along the marked line, ensuring accuracy. Sand the edges to smooth them out and remove any burrs. Next, shape the guide to fit the knife’s spine or handle, depending on your design. Test the fit by placing the guide against the blade and adjusting as needed. For a more durable option, consider adding a clamp or adhesive backing to secure the guide during sharpening. Properly shaping the guide ensures consistent angles and precise sharpening results.
Assembling and Testing the Angle Guide
Once the guide is cut and shaped, assemble the components securely. Attach the angle guide to the knife’s spine or handle using adhesive, screws, or clamps, ensuring it aligns perfectly with the blade. Test the guide by placing it on a flat surface and checking its stability. Apply a marker to the knife’s edge and make a few sharpening strokes to see if the guide maintains the desired angle. Inspect the edge to ensure even wear and adjust the guide if necessary. Repeat the process until consistent results are achieved. For added precision, use a protractor to verify the angle accuracy. Proper assembly and thorough testing ensure the guide performs reliably, helping you achieve sharp, consistent edges every time. This step is crucial for maximizing the guide’s effectiveness and improving your sharpening skills.

Using Your Homemade Angle Guide
Position the guide along the knife’s spine, aligning it with your desired angle. Hold firmly and sharpen in smooth, consistent strokes to maintain precision and achieve a razor-sharp edge.
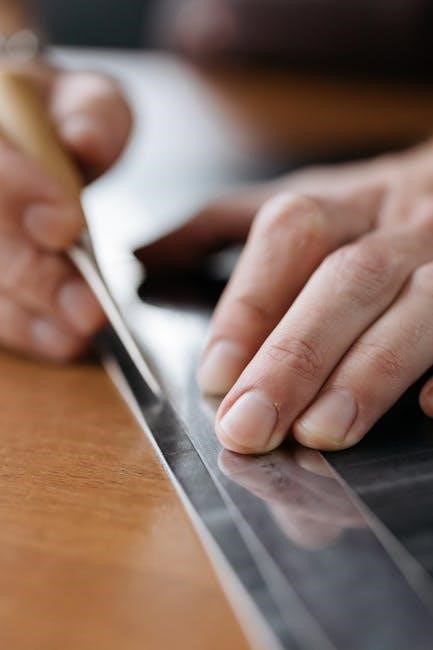
How to Properly Align the Guide for Sharpening
To properly align your homemade angle guide, start by placing it along the knife’s spine, ensuring it matches the desired sharpening angle. Use a marker to verify the angle alignment, making adjustments as needed. Hold the knife firmly at the chosen angle, with the guide secured in place. Gently draw the knife across the sharpening surface in smooth, consistent strokes, maintaining light pressure. This ensures the edge aligns perfectly with the guide, preventing uneven sharpening. For straight-edge knives, a 20-degree angle is common, while Japanese knives often require a sharper 15-degree angle. Always check the knife type to confirm the ideal angle. Once aligned, sharpen in one direction, from heel to tip, to maintain the edge’s integrity. Regularly inspect the guide’s position and adjust as needed to achieve consistent results.
Tips for Maintaining Consistency and Accuracy
Maintaining consistency and accuracy when using your homemade angle guide requires attention to detail and practice. Always ensure the guide is securely positioned on the knife’s spine before sharpening. Use a marker to periodically check the angle alignment, making slight adjustments as needed to prevent drift. For optimal results, sharpen in a consistent direction, typically from the heel to the tip, using light, even strokes. Avoid applying too much pressure, as this can cause the knife to slip out of the guide. After each sharpening session, inspect the edge for uniformity and touch up any uneven areas. Regularly clean and maintain your sharpening tools to ensure precision. Over time, muscle memory will develop, allowing you to sharpen with greater ease and accuracy. Consistent practice with your homemade guide will enhance your sharpening skills, resulting in sharper, more durable knives.


About the author