The Audio-Technica AT-LP60 is a fully automatic turntable designed for ease of use and high-quality audio. It features a built-in preamp and USB connectivity for digital conversion, making it an ideal entry-level turntable for vinyl enthusiasts seeking simplicity and modern convenience without compromising on sound quality.
1.1 Overview of the AT-LP60 Turntable
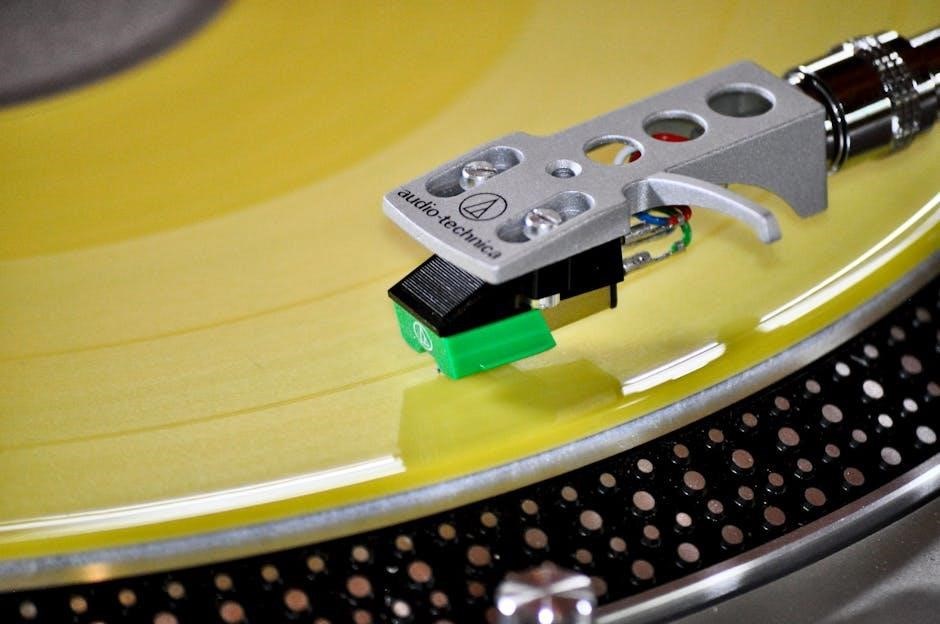
The Audio-Technica AT-LP60 is a fully automatic turntable designed for ease of use and high-quality audio reproduction. It features a robust build, a die-cast aluminum platter, and an integral dual-magnet cartridge, ensuring clear and balanced sound; The turntable is compatible with both 33 1/3 and 45 RPM records, making it versatile for various vinyl collections. Its automatic operation simplifies playback, while the built-in preamp allows direct connection to speakers or stereo systems. This model is ideal for both newcomers to vinyl and experienced listeners seeking a reliable, user-friendly turntable.
Additional features include a USB output for digitizing records and a sleek, compact design that fits seamlessly into modern home audio setups. The AT-LP60 is widely praised for its value, combining affordability with performance. Its intuitive controls and durable construction make it a standout choice in its class, catering to those who appreciate both convenience and quality sound. The turntable comes with a user-friendly manual, ensuring easy setup and operation for all users.
1.2 Key Features and Benefits
The AT-LP60 turntable offers a fully automatic operation, making it easy to use for beginners. It features a built-in preamp, enabling direct connection to speakers or stereo systems without an external amplifier. The turntable supports both 33 1/3 and 45 RPM speeds, accommodating various record sizes. Its USB connectivity allows for easy digitization of vinyl records to digital formats. The balanced sound quality, durable design, and affordable price make it an excellent entry-level option. Additionally, the AT-LP60 comes with a replaceable stylus, ensuring long-term usability and maintaining audio fidelity over time.

Unboxing and Initial Setup
Unbox and carefully unpack the turntable, ensuring all components are included. Connect the power cord, attach the counterweight, and place the platter mat. Follow manual instructions for proper setup and initial adjustments to ensure optimal performance.
2.1 What’s Included in the Box
The box includes the AT-LP60 turntable, a platter, a dust cover, a counterweight, and a stylus. Additional items are a USB cable, power cord, and an RCA audio cable. A 45 RPM adapter is provided for playing 7-inch records. The package also contains a user manual and warranty information. Ensure all components are accounted for before setup to guarantee proper functionality and optimal performance.
2.2 Preparing the Turntable for First Use
Before using the AT-LP60, ensure the turntable is placed on a flat, stable surface. Remove the stylus guard and gently place the platter on the spindle. Install the drive belt according to the manual’s instructions. Connect the power cord and RCA cables to your stereo system. For 7-inch records, attach the 45 RPM adapter. Finally, balance the tonearm by adjusting the counterweight. Refer to the user manual for detailed setup steps to ensure proper functionality and optimal performance from your turntable.

Operating the Turntable
Place the record on the platter, select the record size and speed using the buttons, and press play. The fully automatic design ensures smooth, hassle-free operation for all users.
3.1 Starting Playback
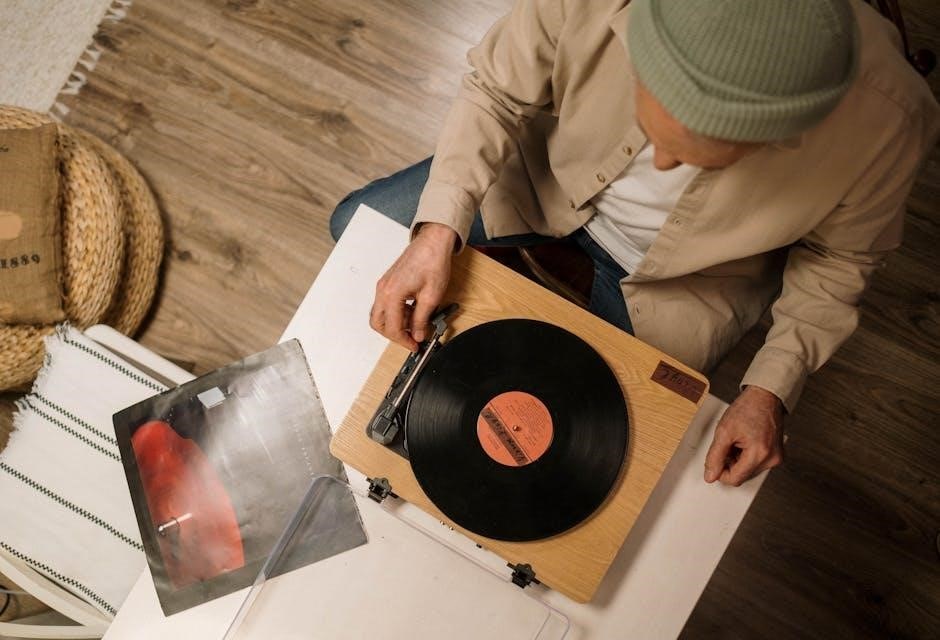
To begin playback on the Audio-Technica AT-LP60, place the record on the platter and ensure it is secure. Next, select the appropriate record size (7-inch or 12-inch) and speed (33 1/3 or 45 RPM) using the designated buttons. Once everything is set, press the start button. The fully automatic mechanism will lift the tonearm and gently place it on the record, allowing you to enjoy your music seamlessly. Ensure the surface is stable and connections are secure for optimal sound quality.
3.2 Switching Between Record Sizes and Speeds
To switch between record sizes and speeds on the Audio-Technica AT-LP60, press the corresponding buttons for 7-inch or 12-inch records and 33 1/3 or 45 RPM speeds. The turntable is fully automatic, so it will adjust the tonearm and platter speed accordingly. For 7-inch records, ensure the adapter is removed, and for 12-inch records, it should be in place. Always match the speed to the record’s label specifications for proper playback. This feature ensures seamless transitions and optimal sound quality for all your vinyl collections.
3.3 Stopping Playback
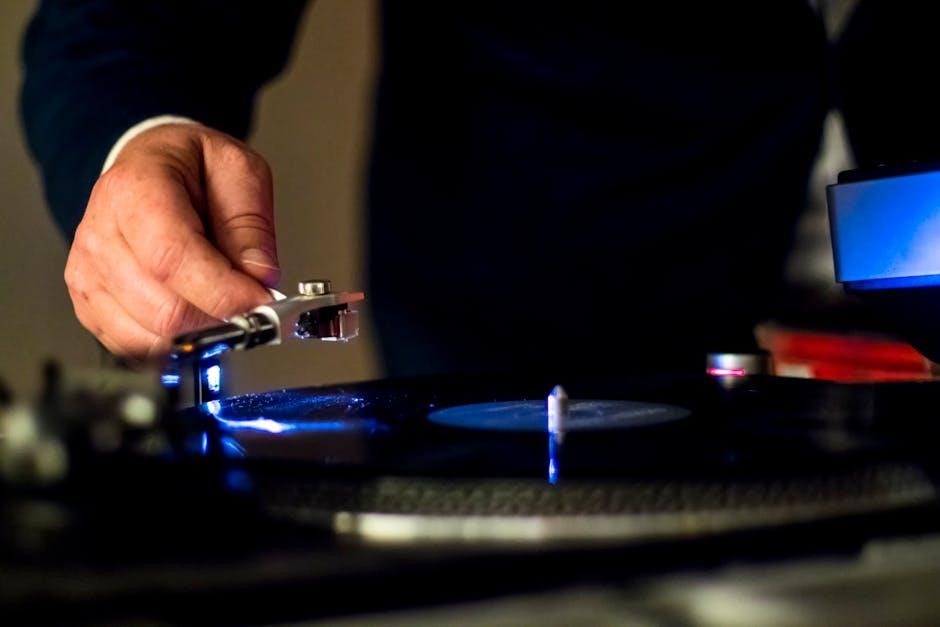
To stop playback on the Audio-Technica AT-LP60, press the Stop button located on the front panel. This will halt the platter’s rotation and automatically lift the tonearm, returning it to its resting position. For manual control, you can also lift the tonearm manually using the lift lever, which ensures the needle is safely removed from the record groove. Always handle the tonearm gently to avoid damaging the stylus or the record. This feature ensures safe and efficient operation, prolonging the life of your vinyl collection and the turntable itself.
Maintenance and Care
Regular maintenance ensures optimal performance and longevity. Clean the platter and stylus gently, check the drive belt for wear, and replace parts as needed for consistent sound quality.
4.1 Cleaning the Turntable Platter and Stylus
Regular cleaning is essential for maintaining sound quality. Use a soft, dry cloth to wipe the platter, removing dust and debris. For the stylus, gently brush with a dedicated cleaning tool or use a stylus cleaning solution. Avoid touching the stylus tip to prevent damage. Cleaning ensures optimal record playback and prolongs the life of your turntable. Always refer to the manual for specific cleaning instructions tailored to the AT-LP60 model.
4.2 Replacing the Stylus
Replacing the stylus is crucial for maintaining sound quality and preventing record damage. The AT-LP60 uses a replaceable stylus, compatible with Audio-Technica cartridges. To replace, remove the old stylus from the tonearm and install the new one, ensuring proper alignment. This process is straightforward and requires no special tools. Regular replacement, typically every 1,000 to 2,000 hours of playtime, ensures optimal performance. Always refer to the manual for specific instructions and recommendations for compatible replacements to maintain your turntable’s longevity and audio fidelity.
4.3 Checking and Replacing the Drive Belt
Regularly inspect the drive belt for signs of wear, such as cracks or breaks. If damaged, replace it immediately to maintain proper turntable operation. To access the belt, remove the platter and gently pull off the old belt. Install the new one by stretching it over the pulley and motor shaft, ensuring it fits securely. Proper belt alignment is essential for consistent speed and smooth playback. Refer to the manual for specific guidance, as improper installation can affect performance. Replacing the belt ensures optimal functionality and prevents potential damage to the turntable.
Troubleshooting Common Issues
The AT-LP60 may face issues like no sound, distorted sound, or the turntable not spinning. These problems often stem from connectivity issues, stylus damage, or belt wear. Refer to the manual for detailed solutions to ensure proper functionality and sound quality. Regular maintenance can help prevent these common issues from arising. Always check connections and clean the stylus before troubleshooting further.
5.1 No Sound or Distorted Sound
No sound or distorted sound on the AT-LP60 can result from connectivity issues, a damaged stylus, or improper setup. Ensure all cables are securely connected and undamaged. Check the stylus for debris or wear and clean it gently. If the issue persists, inspect the drive belt for damage or misalignment. Make sure the turntable is placed on a stable, level surface to prevent vibration. Refer to the manual for troubleshooting steps, and consider replacing the stylus or drive belt if necessary to restore optimal sound quality.
5.2 Turntable Not Spinning
If the AT-LP60 turntable fails to spin, first ensure the power is turned on and the speed selector is set correctly. Check for obstructions or improper placement of the record. Verify that the drive belt is properly aligned and not damaged. If the issue persists, inspect the motor or belt for wear and tear. Consult the manual for guidance on replacing the belt or motor components. If none of these steps resolve the problem, contact Audio-Technica customer support for further assistance or potential repair options.
5.3 Skipping or Wobbling Records
Skipping or wobbling records on the AT-LP60 can be caused by improper record placement, an unbalanced tonearm, or a worn stylus. Ensure the record is placed correctly on the platter and aligned with the spindle. Check the tonearm balance by gently adjusting the counterweight. Inspect the stylus for damage or debris and clean it if necessary. Verify that the platter is level and free from dust or obstructions. If issues persist, consider replacing the stylus or consulting the manual for further troubleshooting steps to ensure smooth and consistent playback.
Tips for Optimal Sound Quality
For optimal sound, ensure proper record placement, adjust the tonearm balance, and use the built-in preamp. Clean the stylus regularly and keep the platter dust-free for clear playback.
6.1 Proper Record Placement
Proper record placement is essential for optimal sound quality. Ensure the record is centered on the platter and handle it by the edges to avoid fingerprints. Gently place the record, aligning the label with the platter’s center. Use the provided record brush to remove dust before playback. For 7-inch records, use the adapter provided to maintain proper sizing. Once placed, the automatic mechanism will lift the tonearm and begin playback. Proper alignment and handling minimize wobbling and ensure clear, consistent audio reproduction.
6.2 Adjusting the Tonearm Balance
Adjusting the tonearm balance ensures proper tracking and consistent audio reproduction. Begin by turning off the motor and gently lifting the tonearm. Use the balance knob to center the tonearm horizontally. Ensure the stylus aligns perpendicular to the record groove. For optimal performance, adjust the counterweight until the tonearm floats freely without tilting. Proper balance prevents distortion and reduces wear on the stylus. Always handle the tonearm with care to avoid misalignment and ensure accurate playback.
6.3 Using the Built-in Preamp
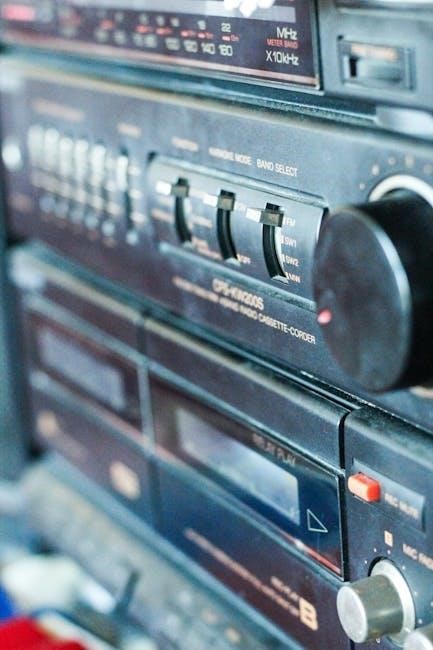
The AT-LP60 features a built-in phono preamp, eliminating the need for an external one. This convenience allows direct connection to amplifiers or receivers without additional equipment. To use it, ensure the preamp is enabled via the switch on the rear. For optimal sound, connect the turntable directly to your audio system’s line input. The preamp ensures consistent audio levels and preserves sound quality. This feature is particularly useful for those new to vinyl, offering simplicity and high-quality playback without the hassle of extra components.

Warranty and Customer Support
The AT-LP60 is backed by a one-year warranty, covering defects in materials and workmanship. For support, contact Audio-Technica via phone, email, or their official website.
7.1 Understanding the Warranty Coverage
The Audio-Technica AT-LP60 is covered by a one-year limited warranty, protecting against defects in materials and workmanship. The warranty period begins from the date of purchase. To maintain eligibility, users must retain the original receipt and ensure proper usage as outlined in the manual. Warranty claims can be submitted through Audio-Technica’s customer support channels. For full details, refer to the warranty section in the provided user manual or visit the official Audio-Technica website. Proper registration and adherence to guidelines are essential for warranty validation.
7.2 Contacting Audio-Technica Support
For assistance with the AT-LP60, visit the official Audio-Technica website and navigate to the “Support” section. You can contact their team via phone, email, or live chat. Ensure you have your model number (AT-LP60) and serial number ready for efficient service. Additionally, the website offers downloadable resources, including user manuals, FAQs, and troubleshooting guides. For warranty-related inquiries or technical issues, Audio-Technica’s support team is available to provide guidance and solutions. Be prepared to provide detailed information about your product and issue for a prompt response.
The Audio-Technica AT-LP60 is a versatile and user-friendly turntable that combines simplicity with high-quality sound, making it an excellent choice for both newcomers and casual vinyl enthusiasts. Its fully automatic operation, built-in preamp, and USB connectivity provide a seamless experience for converting vinyl to digital formats. With its durable design and easy-to-use interface, the AT-LP60 delivers great value for its price. Whether you’re rediscovering your vinyl collection or starting fresh, this turntable offers a reliable and enjoyable way to listen to your records while benefiting from modern technology.


About the author