The Yamaha “Why Manual” is a comprehensive guide designed to enhance your riding experience and ensure proper maintenance of your Yamaha YH50 scooter. It provides detailed insights into operation, safety, and innovative features like Y-AMT, helping you maximize performance and longevity.
Purpose of the Yamaha “Why Manual”
The Yamaha “Why Manual” serves as a detailed guide for owners, providing essential information on operating, maintaining, and troubleshooting their Yamaha YH50 scooter. It ensures riders understand safety protocols, optimal performance, and proper care routines. This manual is designed to enhance the overall riding experience while promoting long-term vehicle reliability and safety.
Overview of the Yamaha YH50 Model
The Yamaha YH50 is a sleek, lightweight scooter designed for urban commuting, offering a blend of agility and efficiency. Equipped with Yamaha’s innovative Y-AMT technology, it features an automated manual transmission, simplifying gear shifts for a smoother ride. The YH50 emphasizes fuel efficiency, with a robust engine and eco-friendly design. Its compact frame and user-friendly controls make it ideal for both new and experienced riders, ensuring a comfortable and enjoyable experience in diverse city environments.
Importance of the Yamaha “Why Manual”
The Yamaha “Why Manual” is essential for owners to understand their scooter’s operation, maintenance, and safety features, ensuring optimal performance and longevity while protecting their investment.
Comprehensive Information for Owners
The Yamaha “Why Manual” offers detailed guidance on scooter operation, maintenance, and troubleshooting. It includes sections on starting procedures, fuel consumption, and safety precautions. The manual ensures owners can perform routine checks, understand technical specifications, and address common issues. By following the manual, riders can optimize their scooter’s performance, extend its lifespan, and ensure safe riding experiences. This resource is indispensable for both new and experienced owners seeking to maximize their Yamaha YH50’s potential.
Safety Features and Precautions
The Yamaha “Why Manual” emphasizes safety through detailed pre-ride checks and emergency procedures. Riders are advised to inspect brakes, tires, and lights before each use. The manual highlights proper riding techniques and the importance of protective gear. It also outlines precautions to avoid accidents, such as adhering to traffic rules and maintaining safe distances. By following these guidelines, owners can ensure a secure and enjoyable riding experience while minimizing potential risks. Safety is prioritized to protect both the rider and others on the road. Always refer to the manual for specific safety recommendations tailored to your Yamaha YH50.
Key Features of the Yamaha “Why Manual”
The Yamaha “Why Manual” offers detailed operation guidelines, maintenance tips, and safety precautions. It includes Y-AMT technology benefits and comprehensive technical specifications to enhance rider knowledge and experience.
Operation and Maintenance Guidelines
The Yamaha “Why Manual” provides clear operation and maintenance guidelines, ensuring optimal performance. It includes detailed instructions for pre-ride checks, fuel consumption optimization, and regular servicing. Riders can learn how to monitor oil levels, inspect brakes, and maintain proper tire pressure. Additionally, it offers tips for efficient fuel usage and troubleshooting common issues. By following these guidelines, owners can extend the scooter’s lifespan and ensure safe, enjoyable riding experiences. Regular maintenance is emphasized to prevent mechanical issues and uphold the vehicle’s reliability.
Fuel Consumption and Efficiency Tips
The Yamaha “Why Manual” offers practical advice to optimize fuel consumption. Regular monitoring of fuel levels and inspections for leaks ensure efficient performance. Proper oil level checks and maintaining consistent riding speeds are recommended. Avoiding rapid acceleration and excessive idling can significantly improve fuel efficiency. The manual also provides tips for planning trips and adjusting riding habits to maximize mileage, helping owners achieve better fuel economy and reduce operational costs over time.

Safety Guidelines in the Manual
The Yamaha “Why Manual” emphasizes rider and passenger safety through pre-ride checks, proper gear use, and adherence to traffic rules. Regular inspections ensure vehicle safety.
Pre-Ride Checks and Inspections
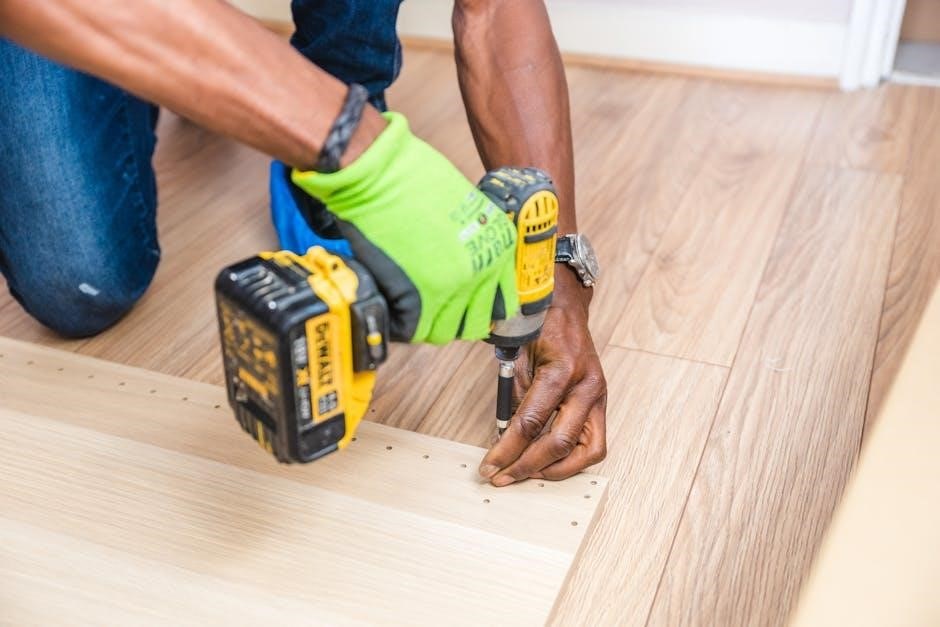
Regular pre-ride checks are essential for ensuring safety and optimal performance. Always inspect the fuel level, oil level, brakes, tires, and lights. Check for any signs of leaks or damage. Ensure all controls function properly. Consult the manual for a detailed checklist to follow before every ride. These inspections help prevent potential issues and ensure a smooth, safe journey; Addressing any concerns early can avoid unexpected breakdowns.
Emergency Procedures and Troubleshooting
In case of an emergency, refer to the manual for guidance on handling situations like breakdowns or system malfunctions. Always move to a safe location and turn on hazard lights. For issues like a dead battery or flat tire, follow the troubleshooting steps provided. Regular inspections can help prevent unexpected problems. If unresolved, contact a Yamaha-authorized service center for professional assistance. Prioritizing safety ensures minimal downtime and longevity of your Yamaha YH50.
Maintenance and Servicing
Regular inspections, oil and fuel checks, and routine servicing are essential for optimal performance. Adhere to scheduled maintenance to prevent issues and protect your Yamaha investment.
Regular Maintenance Schedule
Adhere to the outlined maintenance schedule in the Yamaha “Why Manual” for optimal performance. Regular checks include oil level, fuel line inspection, and tire pressure. Perform periodic servicing as recommended to ensure longevity and safety. Follow the manual’s guidelines for brake system inspections and spark plug replacements. Timely maintenance prevents mechanical issues, enhances riding safety, and prolongs the life of your Yamaha YH50 scooter.
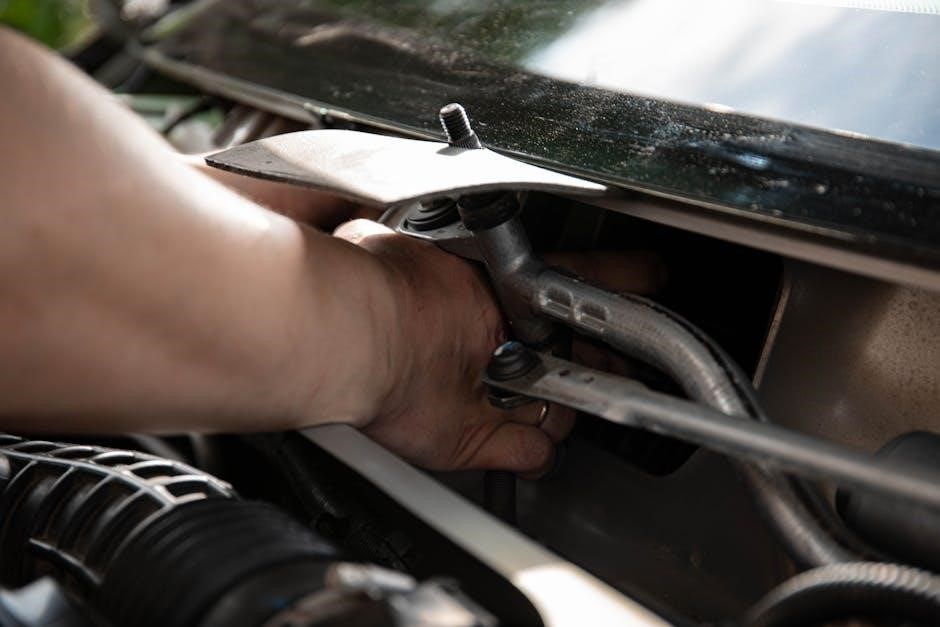
Oil and Fuel Checks
Regular oil and fuel checks are essential for maintaining your Yamaha YH50 scooter. Always verify oil levels before riding and ensure the fuel tank is filled with the recommended type of fuel. Inspect the fuel line for any signs of leakage or damage. Refer to the manual for specific guidelines on oil type and fuel recommendations to ensure optimal engine performance and longevity. Proper checks help prevent mechanical issues and ensure a smooth riding experience.

Yamaha’s Y-AMT Technology
Yamaha’s Y-AMT (Yamaha Automated Manual Transmission) automates clutch and gearshift operations, offering a smoother and more efficient riding experience. This innovative technology simplifies riding, making it accessible for all skill levels while enhancing performance and control.
Overview of Y-AMT (Yamaha Automated Manual Transmission)
Y-AMT is Yamaha’s innovative Automated Manual Transmission, designed to simplify riding by automating clutch and gearshift operations. This technology enhances ease of use, especially for new riders, by eliminating manual gear changes. It ensures smooth acceleration and seamless shifting, making it ideal for stop-and-go traffic while maintaining the performance and control of a manual transmission. Y-AMT represents Yamaha’s commitment to combining tradition with modern innovation, offering a riding experience that is both intuitive and efficient.
Benefits of Y-AMT for Riders
Y-AMT offers riders increased convenience and comfort by eliminating manual clutch and gearshift operations, reducing fatigue in traffic. It provides smooth, seamless acceleration and intuitive control, making it accessible for new riders while maintaining the performance expected by experienced riders. Enhanced fuel efficiency and reduced mechanical wear are additional benefits, ensuring a more enjoyable and cost-effective riding experience. Y-AMT blends innovation with practicality, catering to a wide range of riding preferences and conditions.
Why Yamaha Manuals Stand Out
Yamaha manuals are renowned for their clarity and comprehensive detail, providing user-friendly guides that enhance riding experiences and ensure proper maintenance for all Yamaha scooter owners.
User-Friendly Design and Clarity
The Yamaha “Why Manual” is crafted with a focus on clarity and accessibility, ensuring riders can easily understand and apply the information. Its organized structure, clear instructions, and detailed illustrations make it simple for owners to navigate. The manual prioritizes safety and efficiency, offering straightforward guidance on operation, maintenance, and troubleshooting. This design ensures that riders can fully utilize their Yamaha YH50’s potential while adhering to best practices for safety and vehicle care.
Detailed Technical Specifications
The Yamaha “Why Manual” provides precise technical details about the YH50 model, including engine performance, transmission, and fuel efficiency. It outlines specifications for optimal operation, ensuring riders understand their scooter’s capabilities. The manual also covers safety features and maintenance requirements, offering a clear understanding of the vehicle’s technical aspects. This section is essential for owners seeking to maximize performance and longevity, ensuring their Yamaha YH50 runs at its best. The manual’s clarity makes complex technical data accessible to all users.
Benefits of Using the Yamaha “Why Manual”
The Yamaha “Why Manual” enhances riding experiences and ensures long-term vehicle care through detailed operation, maintenance, and safety guidelines, maximizing performance and longevity for Yamaha scooter owners.
Enhanced Riding Experience
The Yamaha “Why Manual” offers a comprehensive guide to optimizing your scooter’s performance, ensuring a smooth and enjoyable ride. By understanding the YH50’s features, riders can master operation, leverage Y-AMT technology for seamless gear shifts, and maintain optimal fuel efficiency. Detailed instructions on starting, braking, and handling various conditions empower riders to navigate confidently. The manual’s insights help riders adapt to different terrains and conditions, enhancing overall control and satisfaction while minimizing mechanical stress on the vehicle.
Long-Term Vehicle Care
The Yamaha “Why Manual” emphasizes the importance of regular maintenance to ensure your scooter’s longevity. By following the outlined schedules for oil changes, fuel checks, and inspections, riders can prevent mechanical issues and maintain optimal performance. The manual provides detailed guidance on servicing, troubleshooting, and proper storage, ensuring your Yamaha YH50 remains in top condition. Adhering to these practices not only extends the vehicle’s lifespan but also preserves its value and reliability over time.

Common Misconceptions About Manuals
Myths vs. Reality in Manual Usage
Many believe manuals are overly technical or time-consuming, but the Yamaha “Why Manual” is designed to be user-friendly, providing clear, accessible guidance for all riders.
A common misconception is that manuals are overly complex or time-consuming. However, the Yamaha “Why Manual” is designed to be user-friendly, offering clear, concise instructions. It dispels myths by providing accessible guidance, ensuring riders can easily understand and maintain their vehicles. The manual’s structured approach helps debunk confusion, making it a valuable resource for both new and experienced riders seeking to optimize their Yamaha YH50’s performance and longevity.
The Yamaha “Why Manual” serves as an essential guide, offering clarity, safety, and maintenance insights. It ensures riders maximize their scooter’s potential while adhering to best practices for longevity and performance.
Final Thoughts on the Yamaha “Why Manual”
The Yamaha “Why Manual” is an essential resource for YH50 owners, offering clear, detailed guidance on operation, maintenance, and safety. Its comprehensive approach empowers riders to maximize their scooter’s performance and longevity. By following the manual, users can ensure a safe and enjoyable riding experience while maintaining their vehicle in optimal condition. Yamaha’s commitment to quality and innovation shines through in this user-friendly guide, making it a vital tool for every YH50 owner.

Additional Resources
Yamaha provides an extensive online library and support system, offering free access to owner manuals, technical specifications, and troubleshooting guides for optimal vehicle maintenance and performance.
Online Libraries and Support
Yamaha offers an extensive online library where owners can access digital versions of the “Why Manual” and other resources. The Yamaha Motor Owners Manual Library provides free, anytime access to detailed guides, technical specifications, and troubleshooting tips. Users can search by VIN or model to find specific documentation, ensuring they have the most accurate information for their vehicle. This convenient service supports owners in maintaining and servicing their scooters effectively, enhancing overall ownership experience and vehicle performance. Additionally, Yamaha’s online support includes FAQs, maintenance schedules, and warranty details, making it a one-stop solution for all owner needs.
Final Thoughts
The Yamaha “Why Manual” serves as an indispensable resource for owners, offering comprehensive guidance on operation, maintenance, and safety. By leveraging Yamaha’s innovative technologies like Y-AMT, riders can enjoy a seamless and efficient experience. The manual’s detailed instructions and troubleshooting tips empower owners to maximize their scooter’s performance and longevity. Yamaha’s commitment to providing accessible online support further enhances the ownership experience, ensuring riders can confidently navigate every aspect of their vehicle’s care and operation.
About Yamaha Motor Co., Ltd.
Yamaha Motor Co., Ltd. is a global leader in the design, manufacture, and marketing of motorcycles, scooters, and other motorized products. Established in 1955, Yamaha has built a reputation for innovation, quality, and reliability. The company’s commitment to technological advancements is evident in developments like the Y-AMT system, which enhances riding efficiency. Yamaha’s extensive product range, from scooters to high-performance motorcycles, reflects its dedication to meeting diverse customer needs worldwide while maintaining a strong focus on safety and environmental responsibility.