Welcome to the Honeywell T6 Pro Installation Manual! This guide provides step-by-step instructions for installing your T6 Pro thermostat, ensuring a smooth and successful setup process.
1.1 Overview of the Honeywell T6 Pro Thermostat
The Honeywell T6 Pro Thermostat is a programmable, Wi-Fi-enabled smart thermostat designed for both conventional and heat pump systems. It offers advanced features like voice control, smart home integration, and energy-saving capabilities. The thermostat learns your system’s behavior to optimize heating and cooling, ensuring comfort and efficiency. With its intuitive interface and compatibility with most HVAC systems, the T6 Pro is a versatile solution for modern homes. The UWP mounting system simplifies installation, while the Honeywell Home app allows remote control and scheduling. This thermostat is ideal for homeowners seeking a reliable, intelligent, and user-friendly temperature control system.
1.2 Importance of Proper Installation
Proper installation of the Honeywell T6 Pro Thermostat is crucial for ensuring optimal performance, efficiency, and compatibility with your HVAC system. Incorrect wiring or setup can lead to connectivity issues, inefficient heating or cooling, and potential system damage. Before starting, verify compatibility with your HVAC system and ensure a stable 24 VAC power supply. Follow the manual’s wiring diagrams and safety precautions to avoid errors. Proper installation also enables advanced features like smart home integration and energy-saving modes. Always refer to the official Honeywell T6 Pro Installation Manual for specific guidelines to guarantee a smooth and successful setup.
1.3 Key Features of the T6 Pro Thermostat
The Honeywell T6 Pro Thermostat offers advanced features designed for convenience and energy efficiency. It is compatible with most HVAC systems, including heat pumps, and requires a 24 VAC power supply. The thermostat supports Wi-Fi connectivity, enabling smart home integration through the Honeywell Home app. Features include programmable settings, geofencing, and energy usage reports. The T6 Pro also learns your system’s behavior to optimize heating and cooling. However, it is not compatible with millivolt systems or electric baseboard heat. These features ensure precise temperature control and enhanced comfort, making it a versatile choice for modern homes. Proper installation is essential to unlock all functionalities.

System Compatibility and Requirements
The Honeywell T6 Pro is compatible with most HVAC systems, including heat pumps, and requires a 24 VAC power supply. It does not support millivolt systems or electric baseboard heating.
2.1 Compatible HVAC Systems
The Honeywell T6 Pro thermostat is designed to work seamlessly with various HVAC systems, including conventional heating and cooling systems, heat pumps, and dual-fuel setups. It is also compatible with both single-stage and multi-stage systems, ensuring flexibility for different home configurations. Additionally, it supports geothermal systems, providing energy-efficient temperature control. The thermostat’s universal design makes it suitable for a wide range of applications, from standard residential systems to more complex setups. This compatibility ensures that the T6 Pro can be installed in most homes, offering advanced temperature management and energy savings.
2.2 Power Requirements
The Honeywell T6 Pro thermostat requires a 24V AC power supply to function properly. A common (C) wire is necessary for reliable operation, as it provides continuous power to the thermostat. The system must have a compatible transformer that delivers 24V AC to ensure smooth functionality. It is important to note that the T6 Pro is not compatible with millivolt or high-voltage systems, such as electric baseboard heating (120-240V). Proper power setup is crucial to avoid malfunctions and ensure optimal performance of the thermostat’s advanced features. Always verify the system’s voltage and wiring configuration before proceeding with installation.
2.3 Incompatible Systems
The Honeywell T6 Pro thermostat is not compatible with all HVAC systems. It cannot be installed on millivolt systems, which are commonly used in older furnaces and boilers. Additionally, the T6 Pro does not support electric baseboard heating systems that operate at 120V or 240V. Heat pump systems without auxiliary heat sources may also be incompatible. It is essential to verify system compatibility before installation to avoid operational issues. Ensure your HVAC system meets the T6 Pro’s requirements to guarantee proper functionality and performance. Refer to the compatibility checklist in the manual for detailed information.

Pre-Installation Steps
Before installing the Honeywell T6 Pro, ensure you have all necessary tools and materials. Review the wiring diagrams and take safety precautions to avoid accidents. Proper preparation is key for a smooth installation process.
3.1 Gathering Tools and Materials
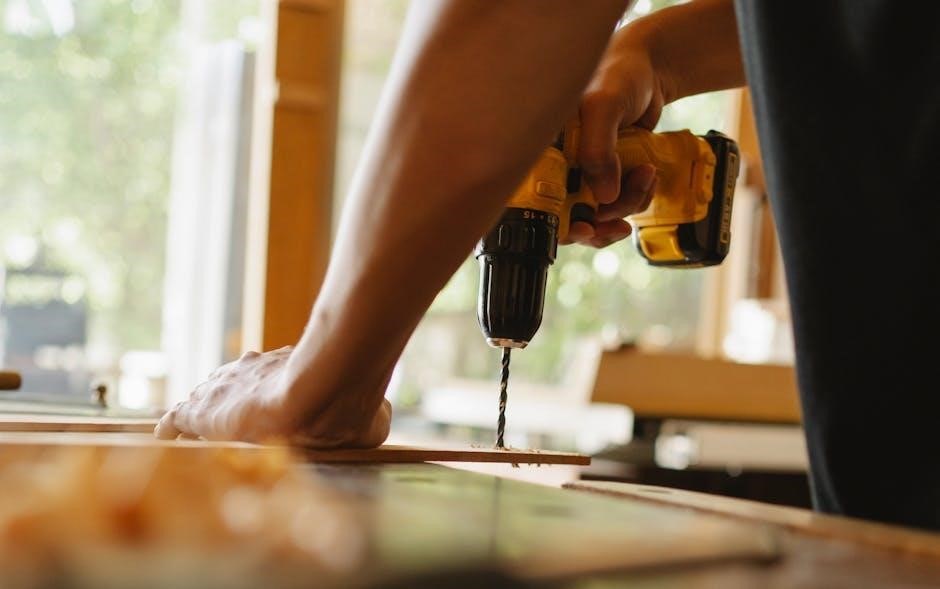
To ensure a smooth installation, gather all necessary tools and materials beforehand. You will need a screwdriver, pliers, and a voltage tester for wiring. Additionally, collect the UWP mounting system, Honeywell standard installation adapter, and decorative cover plate provided with the thermostat. Ensure you have access to a smartphone or tablet for setting up the Honeywell Home app. Download the Honeywell T6 Pro installation manual for detailed instructions. Organize all components and tools in a convenient location to avoid delays during the process. Proper preparation is essential for a successful and efficient installation.
3.2 Understanding Wiring Diagrams
Understanding the wiring diagrams is crucial for a successful installation. The Honeywell T6 Pro manual includes detailed diagrams to help you identify and connect the correct wires to the thermostat terminals. Familiarize yourself with the wiring layout for your specific HVAC system, whether it’s a conventional, heat pump, or Z-Wave setup. Ensure you match the wires from your system to the thermostat’s terminals accurately. Pay special attention to the C wire, as it is required for proper functionality. Use the voltage tester to verify live wires before connecting them. If you’re unsure, label the wires before disconnecting them to avoid confusion; This step ensures a safe and correct installation process. Always refer to the diagram for guidance.
3.3 Safety Precautions
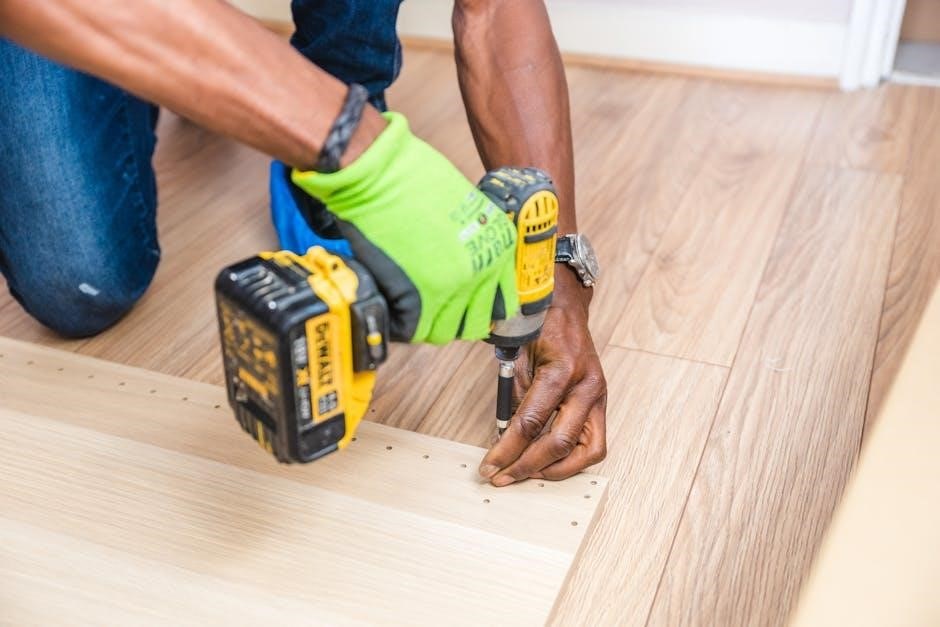
Before starting the installation, ensure all safety precautions are followed to avoid injuries or damage. Always disconnect the power supply from the HVAC system before handling any wires. Use a voltage tester to confirm there is no electricity flowing through the wires. Wear protective gear, such as gloves and safety glasses, when working with electrical components. Avoid touching live wires or terminals. Follow the manufacturer’s instructions carefully and never force wires into terminals. If unsure about any step, consider consulting a licensed professional. Keep the work area clean and well-lit to prevent accidents. After installation, test the system to ensure it operates safely and correctly;

Installation Process
Mount the UWP system, connect wires to terminals, and install the thermostat unit. Follow the manual for precise steps to ensure a correct and safe installation process.
4.1 Mounting the UWP System
Mounting the UWP system is the first step in installing the Honeywell T6 Pro thermostat. Ensure the wall is level and clean. Use the provided J-box adapter for secure installation. Align the UWP mounting system with the wall studs for stability. Gently press the system into place, ensuring it is flush with the wall. Double-check the alignment to avoid any installation issues. Once mounted, proceed to connect the wires to the appropriate terminals. Proper mounting ensures the thermostat operates efficiently and maintains a sleek appearance. Follow the manual for detailed mounting instructions to guarantee a professional finish.
4.2 Connecting Wires to Terminals
Connecting wires to terminals is a critical step in the Honeywell T6 Pro installation. Begin by ensuring the power supply is turned off at the circuit breaker. Locate the wiring terminal on the UWP mounting system and match each wire to its corresponding terminal using the provided wiring diagram. Securely fasten each wire to prevent loose connections. For systems requiring a C wire, ensure it is properly connected to maintain consistent power. Refer to the manual for specific terminal designations (e.g., R, W, Y, G, C). Double-check all connections before proceeding to the next step. Proper wiring ensures the thermostat functions correctly and avoids potential malfunctions.
4.3 Installing the Thermostat Unit
Once the wires are connected, attach the Honeywell T6 Pro thermostat unit to the UWP mounting system. Ensure the thermostat aligns properly with the mounting plate and snap it into place. Secure the unit using the screws provided in the package. If necessary, install the decorative cover plate to enhance the appearance. Finally, restore power to the system and perform a quick test to ensure the thermostat powers on and responds to input. Refer to the manual for additional guidance on configuring settings and pairing with the Honeywell Home app for smart functionality.

Post-Installation Setup
Post-installation setup involves configuring basic settings, connecting to the Honeywell Home app, and testing the thermostat. Ensure all features are functioning correctly for optimal performance.
5.1 Configuring Basic Settings
Configuring basic settings on your Honeywell T6 Pro thermostat ensures optimal performance. Start by setting temperature limits for heating and cooling systems. Use the keypad or the Honeywell Home app to adjust these settings. Schedule your preferred temperature profiles for different times of the day. Enable features like geofencing or smart recovery to enhance energy efficiency. The app will guide you through the setup process, ensuring all configurations align with your HVAC system’s capabilities. Properly configuring these settings will help you maximize comfort while minimizing energy consumption. Always refer to the manual for specific instructions tailored to your system.
5.2 Setting Up the Honeywell Home App
Setting up the Honeywell Home app is essential for remote control and advanced features of your T6 Pro thermostat. Download the app from the App Store or Google Play. Create an account or log in if you already have one. Follow the in-app instructions to connect your thermostat to your Wi-Fi network. Once connected, you can adjust settings, schedule temperatures, and enable features like geofencing. The app also allows you to monitor energy usage and receive notifications. Ensure your thermostat is powered on and in pairing mode during setup. This step ensures seamless integration and full functionality of your Honeywell T6 Pro thermostat.
5.3 Testing the Thermostat
After installation and setup, test your Honeywell T6 Pro thermostat to ensure proper functionality. Start by checking basic operations, such as switching between heating and cooling modes. Verify that the display accurately reflects the set temperature and mode. Test the thermostat’s response to manual adjustments and scheduled settings. Ensure the system cycles on and off correctly. Additionally, test remote access via the Honeywell Home app to confirm connectivity. If issues arise, refer to the troubleshooting section for common fixes. This step ensures your thermostat operates efficiently and meets your comfort needs. Proper testing guarantees a reliable and energy-efficient performance from your Honeywell T6 Pro thermostat.

Troubleshooting Common Issues
Troubleshoot common issues like connectivity problems or installation errors. Check wiring connections, power supply, and system compatibility. Refer to the manual for detailed solutions and reset options.
6.1 Common Installation Mistakes
Common installation mistakes include incorrect wiring, insufficient power supply, and incompatible system connections. Ensure the C-wire is properly connected for Wi-Fi functionality. Verify compatibility with your HVAC system before starting. Incorrect terminal connections can lead to malfunctioning or complete system failure. Always disconnect power before beginning installation to avoid electrical hazards. Double-check wiring diagrams to match your system type. Failure to follow safety precautions may result in damage or injury. Consult the manual for specific guidelines tailored to your setup. Proper preparation and adherence to instructions are key to a successful installation.
6.2 Solving Connectivity Problems
Connectivity issues with the Honeywell T6 Pro can often be resolved by checking your Wi-Fi network stability and ensuring the thermostat is properly connected. Restart your router and thermostat to refresh the connection. Verify that your smartphone or tablet has the latest Honeywell Home app version. If issues persist, check for firmware updates on the thermostat. Ensure the C-wire is connected, as it powers the Wi-Fi functionality. Reset the thermostat to factory settings if advanced troubleshooting is needed. Refer to the app for diagnostic tools or error codes to identify specific problems. Always follow the manual’s guidelines for network configuration and troubleshooting.
With the Honeywell T6 Pro Installation Manual, you now have the tools to successfully install, configure, and maintain your thermostat. Proper installation ensures optimal performance, efficiency, and comfort. The T6 Pro offers advanced features like smart scheduling and energy-saving modes, making it a valuable upgrade for your home. Always refer to this guide for troubleshooting and setup tips. For additional support, visit the Honeywell Home website or download the Honeywell Home app. Enjoy the convenience and reliability of your new thermostat, designed to enhance your smart home experience while reducing energy consumption. Happy installing!


About the author