Guide Dogs for the Blind Dog Adoption: A Comprehensive Guide
Discover the process of adopting guide dogs, their roles, and the organizations like Guide Dogs for the Blind (GDB) and Guiding Eyes for the Blind that facilitate life-changing connections.
Guide Dogs for the Blind (GDB) is a nonprofit organization dedicated to empowering visually impaired individuals through expertly trained guide dogs. Founded with the mission to provide mobility, independence, and confidence, GDB breeds, raises, and trains dogs to assist those in need. Labrador Retrievers, Golden Retrievers, and mixed breeds are primarily used due to their intelligence, loyalty, and adaptability. GDB relies on donations to sustain its programs, ensuring services remain free for clients. With a focus on creating life-changing partnerships, GDB has become a leader in guide dog training and placement, transforming lives for over 70 years.
The Role of Guide Dogs in Assisting Visually Impaired Individuals
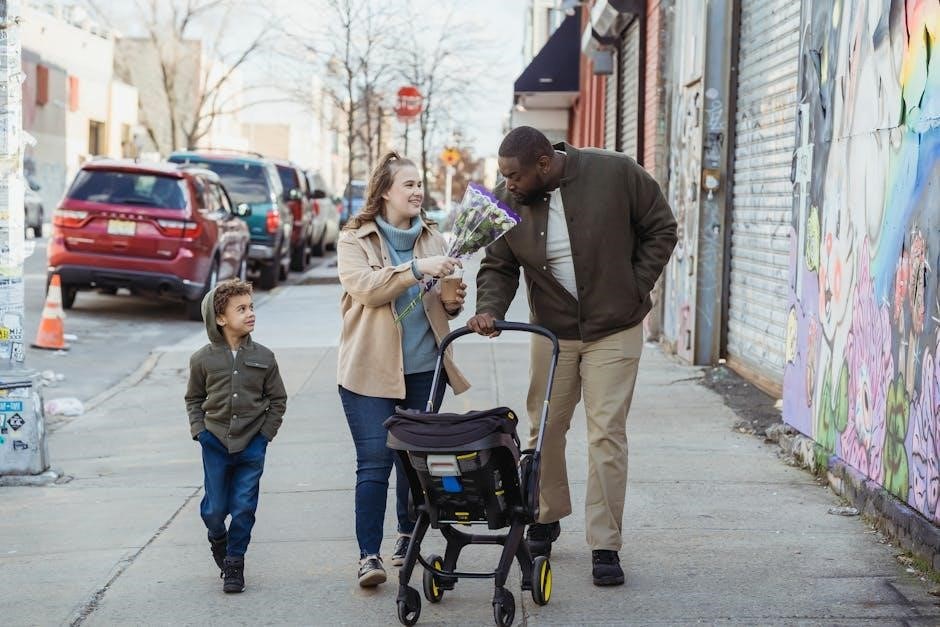
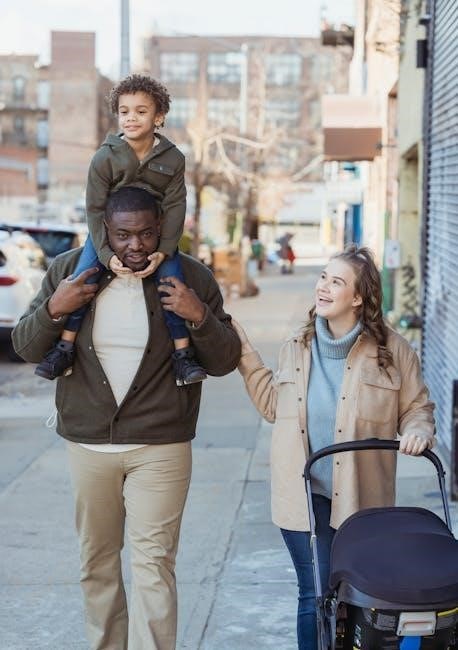
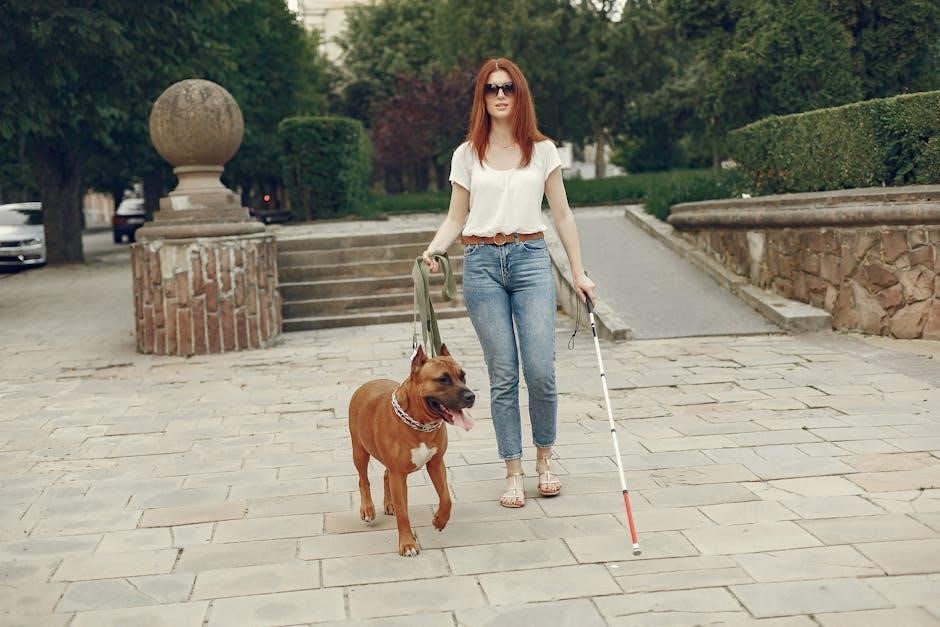
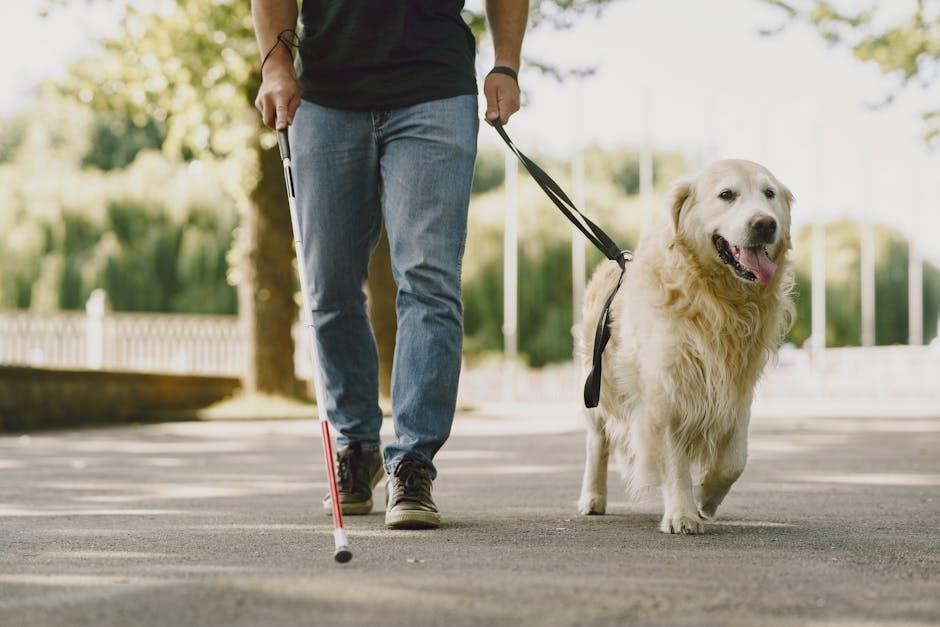
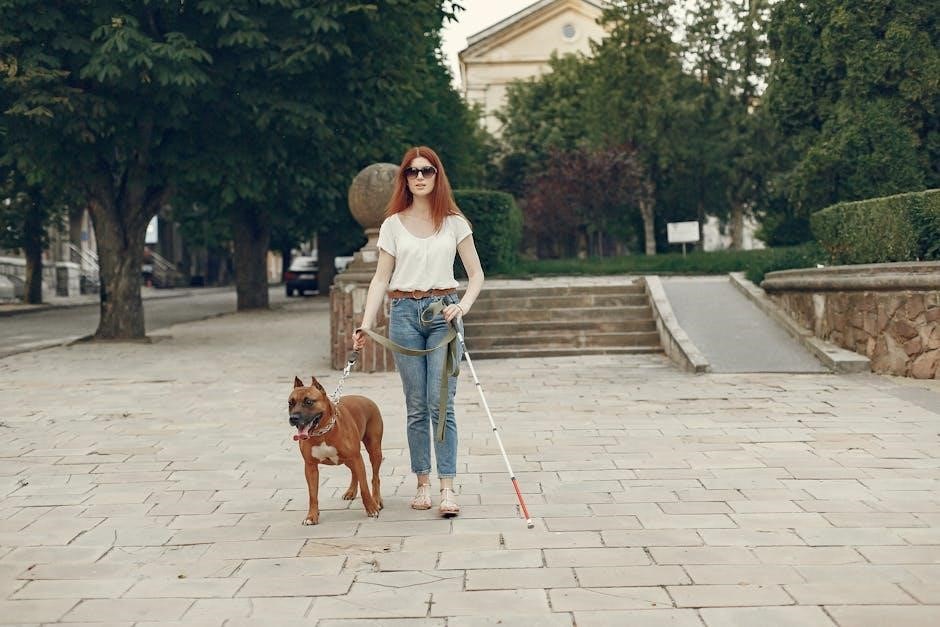
Guide dogs are meticulously trained to serve as navigational aids for visually impaired individuals, enabling them to move through the world with greater independence and confidence. These dogs are taught to stop at curbs, avoid obstacles, and navigate around hazards, providing critical assistance in daily life. Beyond physical guidance, they offer emotional support and companionship, fostering a sense of security and connection. By forming strong bonds with their handlers, guide dogs empower individuals to live fulfilling lives, overcoming challenges and embracing new experiences with ease and assurance.
The Adoption Process for Guide Dogs
The process involves submitting an application, a home evaluation, and matching with a dog. Organizations like GDB and Guiding Eyes facilitate adoptions, ensuring suitable placements for both dogs and owners.
3-Step Application Process for Dog Adoption
The adoption process begins with an application submission, where applicants provide personal, family, and housing information. This includes details about their ability to provide a suitable home environment, past experience with guide dogs, and financial capacity to care for a dog. Next, a home evaluation is conducted to assess the living conditions and ensure they are appropriate for a guide dog. Finally, applicants are matched with a dog based on their lifestyle and needs. Organizations like Guide Dogs for the Blind and Guiding Eyes for the Blind facilitate this process, ensuring a smooth transition for both the dog and the adopter. Dogs are spayed/neutered and vaccinated before placement.
Eligibility Criteria for Adopting a Guide Dog
To be eligible to adopt a guide dog, applicants must demonstrate the ability to provide a stable and suitable home environment. This includes having adequate space, a safe yard, and a consistent routine. Financial stability is also required to cover food, veterinary care, and other expenses. Prospective adopters must complete an application and undergo a home evaluation to ensure compatibility with a guide dog. Organizations like Guide Dogs for the Blind and Guiding Eyes for the Blind prioritize placements based on lifestyle, living conditions, and the dog’s needs. A commitment to caring for the dog’s well-being is essential.
Benefits of Adopting a Guide Dog
Adopting a guide dog provides emotional support, companionship, and enhances independence for visually impaired individuals, fostering confidence and improving overall quality of life.
How Guide Dogs Enhance Independence and Confidence
Guide dogs empower visually impaired individuals by providing mobility assistance, enabling them to navigate safely and confidently. These specially trained dogs help users avoid obstacles, cross streets, and access public spaces independently. By fostering self-reliance, guide dogs significantly boost confidence, allowing individuals to engage fully in daily activities and social interactions. This partnership not only enhances physical freedom but also contributes to emotional well-being, creating a sense of control and independence in their lives;
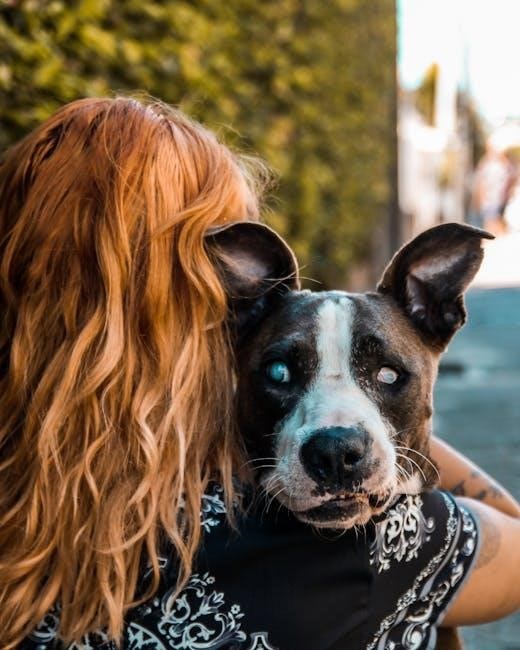
Emotional Support and Companionship from Guide Dogs
Guide dogs provide more than physical assistance; they offer emotional support and unwavering companionship. Their presence reduces feelings of isolation and loneliness, fostering a sense of security and comfort. The bond between a guide dog and its handler is deeply personal, creating trust and emotional stability. These dogs often become cherished family members, offering affection and reassurance. Their companionship enhances overall well-being, helping individuals navigate life’s challenges with confidence and joy. This emotional connection is a vital aspect of the transformative impact guide dogs have on their handlers’ lives.
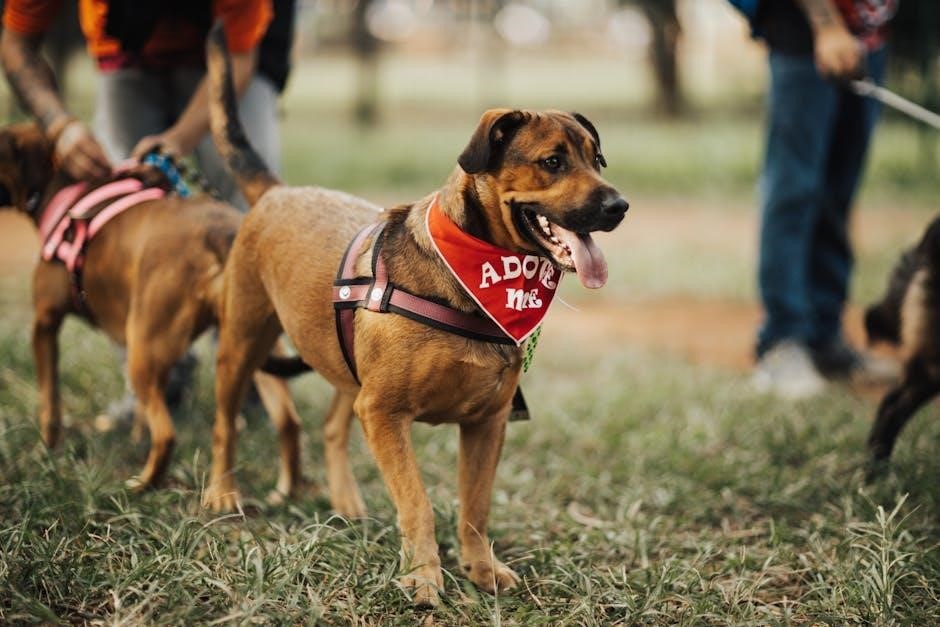
Career Change Dogs and Their Adoption
Career change dogs are those unsuited for guide work, often due to temperament or health. They excel as pets, service, or detection dogs, offering loving companionship and purpose through adoption programs by organizations like GDB and Guiding Eyes.
Alternative Careers for Dogs Not Suited for Guide Work
Dogs that don’t excel as guide dogs often find purpose in other roles. Many become service dogs for veterans with PTSD, detection dogs, or therapy animals. Some are placed with organizations like NEADS or Warrior Canine Connection to assist individuals with autism or hearing loss. Others thrive as loving family pets through public adoption programs. These dogs, though unsuited for guide work, still make a meaningful impact. Their training and temperament make them ideal for various careers, ensuring they find fulfilling roles where they can shine and support others in different ways.
Public Adoption Program for Career Change Dogs
The Public Adoption Program offers career change dogs, unsuited for guide or service roles, to loving homes. These dogs, often Labradors, Golden Retrievers, or mixed breeds, are carefully matched with families. The adoption process involves screening to ensure a suitable environment. Dogs are typically between 10 and 16 months old. Organizations like Guiding Eyes for the Blind facilitate this program, ensuring each dog finds a fulfilling role. Whether as pets or in other careers, these dogs bring joy and companionship, making them cherished additions to families who provide the love and care they deserve;
Guide Dog Breeds and Characteristics
Labrador Retrievers, Golden Retrievers, and mixed breeds are common guide dog breeds, known for intelligence and loyalty. Dogs are typically 10–16 months old when adopted.
Labrador Retrievers, Golden Retrievers, and Mixed Breeds
Labrador Retrievers, Golden Retrievers, and mixed breeds are popular guide dog breeds due to their intelligence, loyalty, and calm temperament. Bred for their strong work ethic and ability to adapt, these dogs excel in guide dog roles. Labradors are known for their friendly nature, while Golden Retrievers are celebrated for their patience. Mixed breeds often inherit the best traits from their parent breeds, making them equally capable. These breeds are typically trained from an early age, starting with puppy raisers who teach basic obedience and social skills before formal training begins around 14 months old.
Age and Training Level of Adoptable Dogs
Adoptable guide dogs are typically between 10 to 16 months old, having completed initial training and socialization. These dogs may still be in training or transitioning to new roles. Young dogs are often energetic and eager to please, while career change dogs may have more maturity and focus. All dogs are well-socialized and adaptable, making them excellent family pets or working companions; Their training foundation ensures they thrive in structured environments, providing a strong bond with their adoptive families.
Veterinary Care and Health of Adopted Dogs
All adopted dogs are spayed/neutered, vaccinated, and receive preventative care for heartworm and fleas. Their health is prioritized to ensure they thrive in their new homes.
Spaying/Neutering, Vaccinations, and Preventative Care
Adopted guide dogs are spayed or neutered to prevent unwanted breeding and reduce health risks. Vaccinations are up-to-date, ensuring protection against common diseases. Preventative care includes heartworm medication and flea/tick treatments to maintain overall health. These measures ensure the dogs are ready for their new homes and thrive as beloved pets or working companions. Proper veterinary care is a priority to guarantee their well-being and longevity.
Adoption Considerations
Consider the age, breed, and training level of guide dogs, as most are 10-16 months old. Ensure your home environment meets their needs for exercise and care.
Young Dogs vs. Retired Guide Dogs: What to Expect
Young guide dogs, typically between 10-16 months old, require active engagement and ongoing training. They are energetic and thrive in dynamic environments. Retired guide dogs, often older, are calm, seasoned companions. While young dogs need consistent exercise and mental stimulation, retired dogs may prefer a quieter lifestyle. Both bring joy, but their needs differ. Adopters should consider their lifestyle, energy levels, and ability to provide the right environment for either a lively young dog or a gentle, experienced companion.
Financial Commitment to Adopting a Guide Dog
Adopting a guide dog involves financial responsibilities, including food, veterinary care, and supplies. While some organizations may waive or reduce adoption fees, monthly costs can range from $50 to $100. Additionally, preventatives like heartworm medication and flea control are essential. Prospective adopters should budget for these expenses to ensure a healthy, happy life for their new companion.
Organizations like Guide Dogs for the Blind and Guiding Eyes for the Blind often rely on donations to support their programs, but adopters must still cover ongoing costs. The financial commitment is worth it for the companionship and support these dogs provide.
Organizations Involved in Guide Dog Adoption
Prominent organizations like Guide Dogs for the Blind (GDB) and Guiding Eyes for the Blind specialize in training and placing guide dogs, relying on donations to support their missions.
Guide Dogs for the Blind (GDB) and Their Programs
Guide Dogs for the Blind (GDB) is a nonprofit organization that breeds, trains, and places guide dogs for individuals who are blind or visually impaired. GDB offers programs like Guide Dog Mobility, which pairs trained dogs with clients for enhanced independence. Additionally, their K9 Buddy program connects dogs with individuals who benefit from emotional support. GDB also operates a Public Adoption Program for dogs not suited for guide work, ensuring they find loving homes. The organization relies on donations and volunteers to sustain its mission of empowering individuals through exceptional canine partnerships.
Guiding Eyes for the Blind and Their Services
Guiding Eyes for the Blind is a nonprofit organization dedicated to providing guide dogs to individuals with vision loss. They offer a range of services, including their Public Adoption Program, which places dogs not suited for guide work into loving homes. Guiding Eyes collaborates with organizations like NEADS and Warrior Canine Connection to train dogs for roles such as service animals for autism, PTSD support, and detection work. Their programs ensure every dog finds a purpose, whether as a guide, service animal, or beloved pet, while empowering individuals to live independently.
Final Thoughts on Adopting a Guide Dog
Adopting a guide dog is a rewarding decision that offers independence, companionship, and emotional support. Ensure you are prepared for the commitment and responsibilities involved.
Emotional and Practical Considerations for Prospective Adopters
Adopting a guide dog requires careful consideration of both emotional and practical factors. Prospective adopters must assess their lifestyle, living situation, and ability to provide consistent care. Emotional readiness is crucial, as these dogs often form strong bonds with their owners. Financial commitment includes costs for food, vet care, and supplies. Additionally, adopters should consider the time investment for training and exercise. Understanding the long-term responsibility of caring for a dog is essential. With the right mindset and resources, adopting a guide dog can be a deeply rewarding experience for both the individual and the dog.